Our Journey in Crafting Molds for Ceramic Jars
Molds for Ceramic Jars – How We Do It at Rélyéf
Creating something from ceramics is no easy task. We’ve written about it many times, and we’re certainly not the only ones who know how tricky it can be.
Every studio potter quickly realizes that making is just one part of the job. You also need to sell your work, and that’s a whole different challenge. There are so many different demands, and your preparation and process need to reflect that. The possibilities are endless.

Today, we’re giving you a behind-the-scenes look at how we create molds for ceramic jars at Rélyéf. This isn’t a step-by-step guide—just a glimpse into how we do things and some lessons we’ve learned along the way.
How Jar Models Are Made
Over the years, we’ve been lucky to witness the birth of many beautiful projects. From the first sketches to prototypes and final products, each one has its own story.
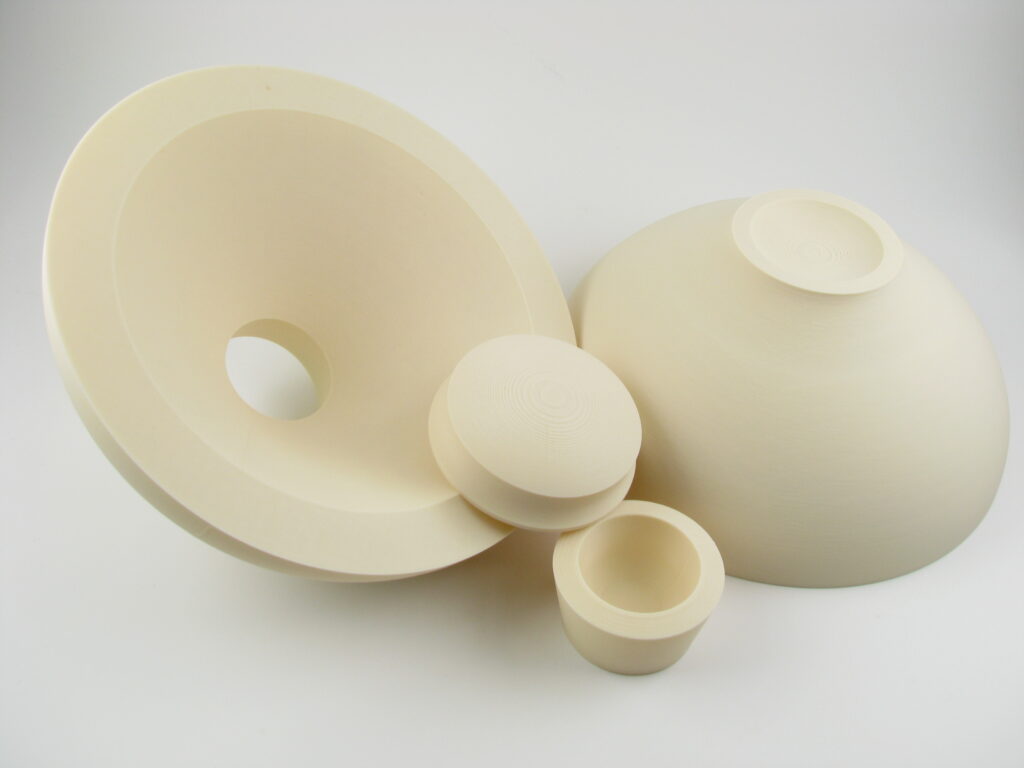
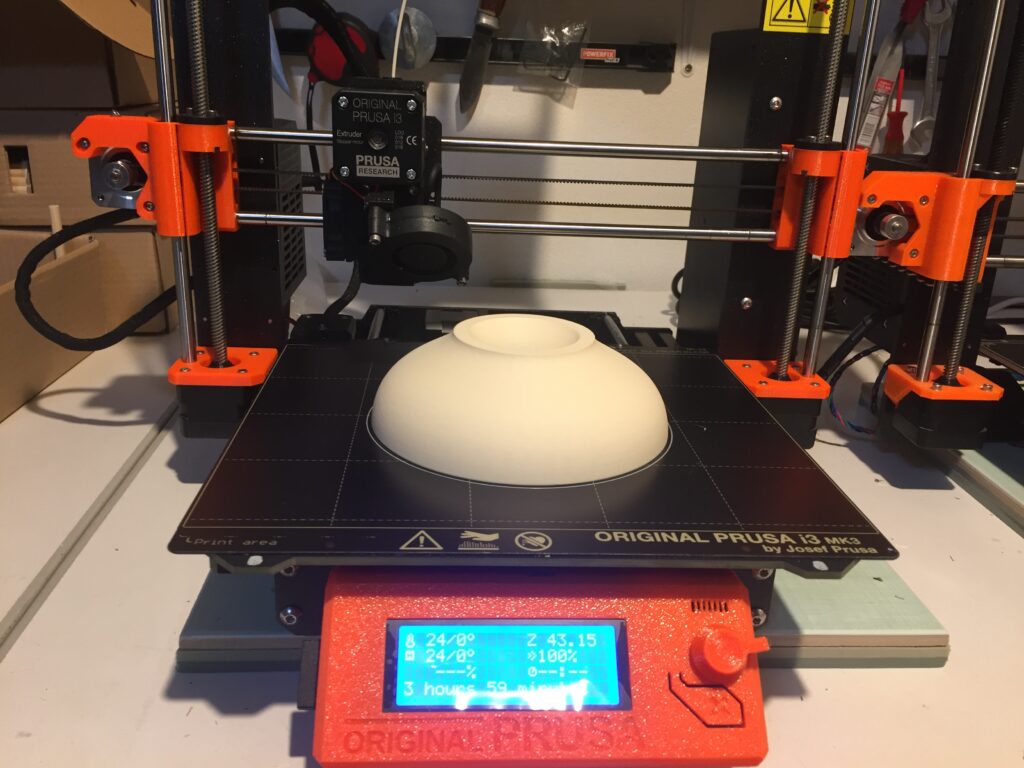
One of the key steps in the process is preparing the jar model. We rely on 3D printing because it gives us the precision and flexibility we need. But before we get there, the creative phase of sketching, testing, and experimenting is essential. This is where ideas really come to life.
Once we have a design, it’s time to program and 3D print the model. Accuracy is everything at this stage. Sometimes we also scan physical models, depending on the shape’s complexity. Once the printed prototype is approved, we move on to mold-making.
This technology is also used to create our Christmas Star, which you can explore here.
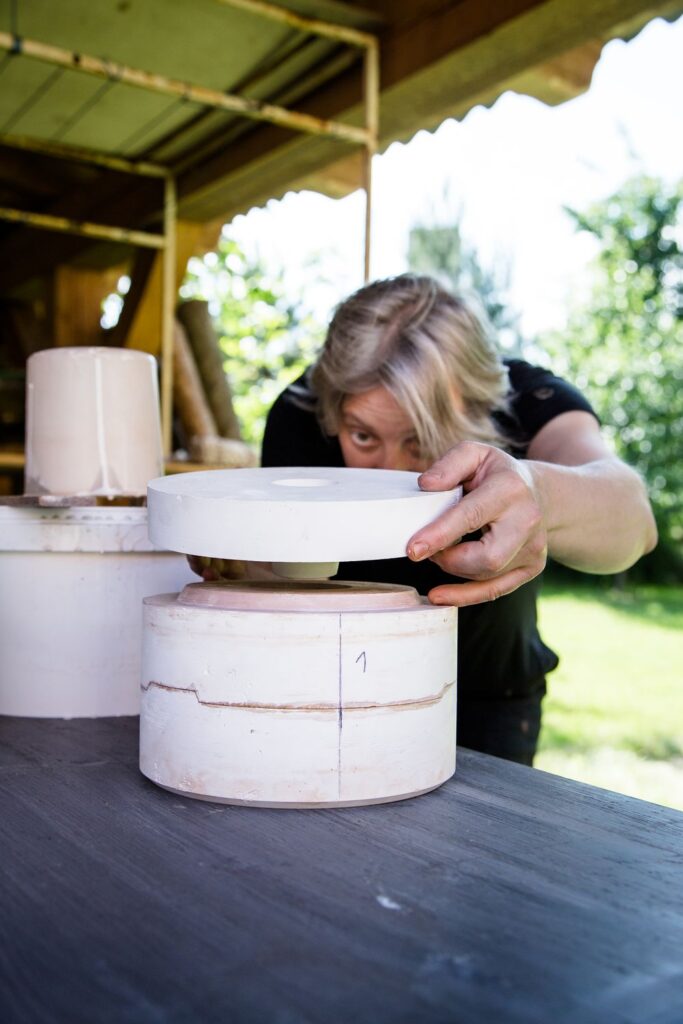
Mold Casting – It’s All in the Details
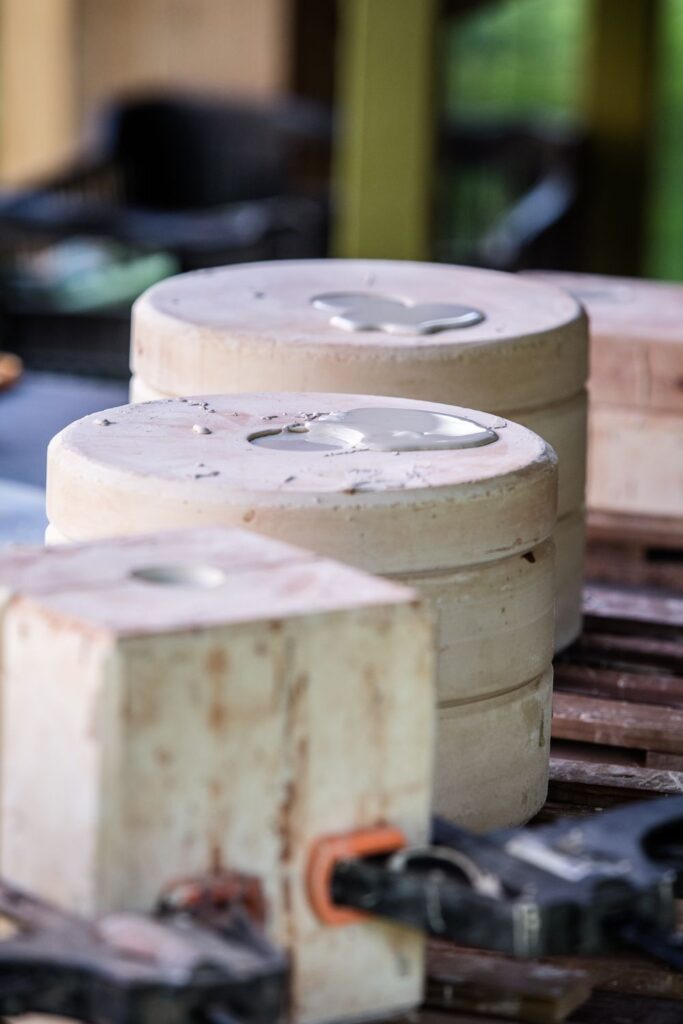
Making plaster molds is an art in itself. An experienced mold maker knows exactly what to do to create a mold that works smoothly. Each part of the jar needs its own mold, and the more complex the shape, the more carefully the mold must be designed.
Right from the beginning, it’s important to think through every detail—like ventilation and pouring holes—to make sure the material flows properly and no air gets trapped.
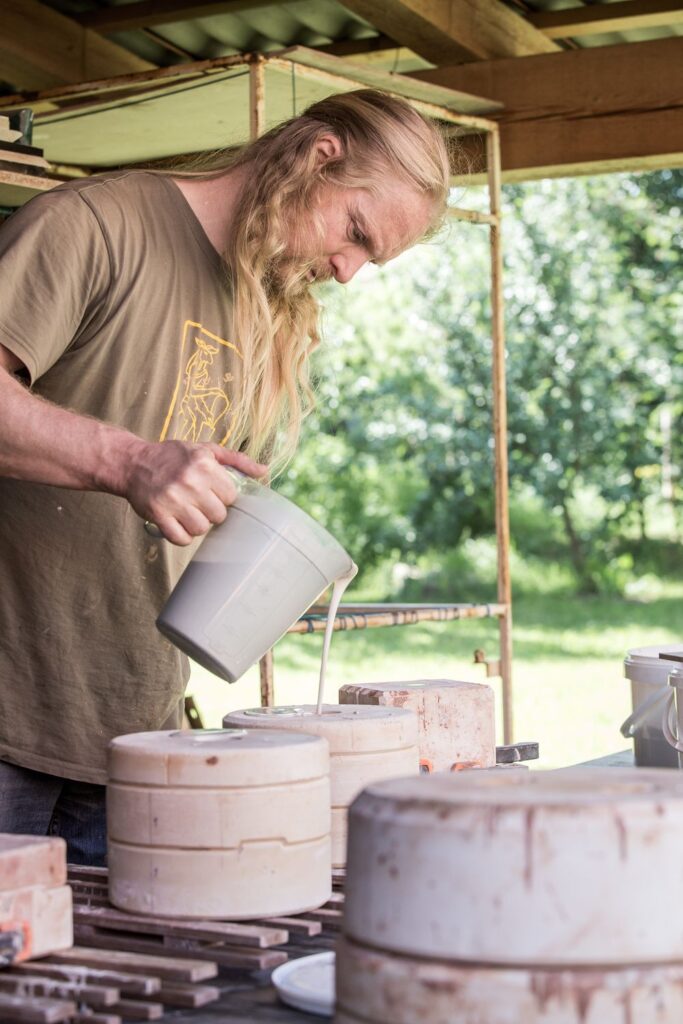
A good mold should be easy to use repeatedly. Thoughtful placement of locking mechanisms and pouring holes can make a world of difference. A quality mold is one that’s easy to assemble, fill, and clean.
From Casting to Decorating
After casting, the jar can either become a finished product or just one step in a longer process. It can be fired as it is, with or without glaze, in an electric kiln or a live flame.

For decoration, there are endless possibilities. Right after the jar comes out of the mold, you can clean it and add details using stamps or texture tools—like those we create at Rélyéf. You can buy them here.

But this is still just a small part of what happens in a pottery studio. Ther
e are countless factors to consider: clay composition, drying times, firing curves, slip consistency, and mold absorption rates—all of which can affect the final product.
A Lifelong Journey
Every mold tells a story. While the first mold marks the beginning, the process is full of unexpected turns and lessons learned.
Mastering ceramics takes time and repetition. Every step matters, and every step needs to be done well. It’s through this repetition that true mastery is built.
Adding reliefs, textures, and patterns brings each jar to life. The possibilities are endless, and that’s what makes ceramics so special.
So, if you’re just starting out—welcome to the journey! It’s never too late to begin. 😊
-
Posted in
clay, inspiration, mold, pottery


