Slip casting process
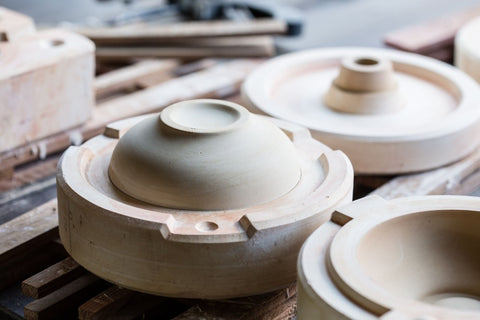
Slip casting is a ceramic forming technique used by studio potters as well as in manufacturing or factory settings. The process from idea to finished work starts with designing a model. Once there is a blueprint, our team in Rélyéf can help the artist transfer the drawing into the 3D printed model and possibly into a plaster mold.
There is a wide variety of already prepared casting slips, so if you don’t have a mixer and knowledge, it is best to work with those types. Before casting, always mix the clay slurry to a smooth, creamy consistency without any lumps.

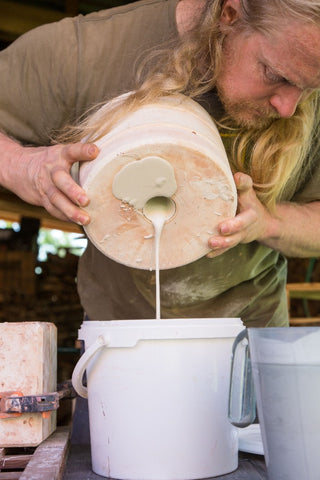
Pour the deflocculated clay into the mould.

Depending on your demands for wall thickness, allow the appropriate time. It is always a good idea to use a stopwatch so you have guidelines for future casting.
As soon as the plaster has absorbed most of the liquid and created the required wall thickness, pour the excess clay mass out of the mould.

Allow additional time for partial drying of the work. Remove the leather-hard slip cast ware from the mold.
At this stage, it is also the time to clean, cut out the pouring cone, and decorate the cast object.


If your mold is in two parts, seams will need to be cleaned. Sometimes, especially with fine porcelain clays, they are cleaned partially and finished after bisque firing by sandpaper (wear a proper mask anytime when working with sandpaper on dry or bisque ceramics).


Regular ceramics processes follow, glazing, decoration after bisque firing, and firing.


If you are interested in having your idea come true, contact us.
-
Posted in
cooperation, slip casting


